For the next few days I'll be giving you good basic information on how to use the basics in preparing a digital image. I'll be using Adobe PhotoShop but all the techniques can be used in any other basic imaging program. Remember you can always click on the image and it will enlarge if you are having trouble reading some of the windows as I use PhotoShop.
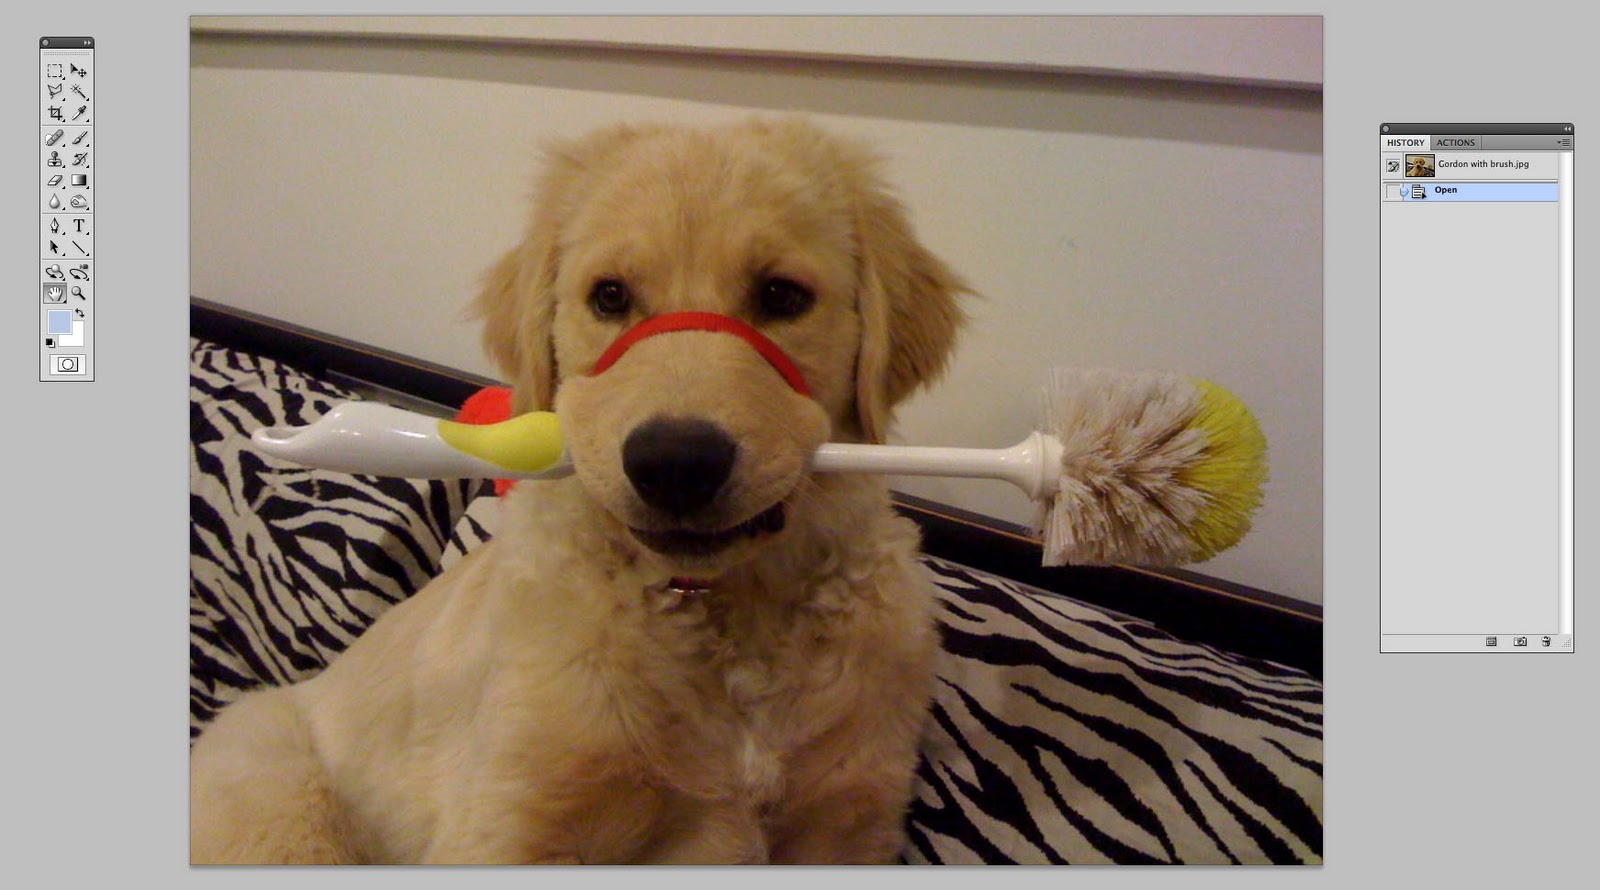
First things first, open up the image and make sure you can find the tools. Then I make sure the image is cropped the way I want it. Then I save the image to somewhere other than the disk with the original. We'll name this Gordon with Brush. 2.21.11.jpg
Notice that I always use a date, so I can find the image with ease later on.
Now we're ready to size the image so it can be printed at a standard, 8x10" size, and stored as a JPEG image and accessed for the web, or e-mailing, any format you wish.


Sometimes when the image is resized like this it will blow up too big for viewing on the screen like this:

A simple double-click (in photoshop and adobe elements) on the hand tool and the image will fill the screen perfectly.

Now we're ready to start working the image over. My philosophy on image preparation and processing is to never mess with the veracity of the image, but when you shoot a picture, it is the equivalent of a composer writing the musical score. What you do in PhotoShop (or whatever tool you choose to use) it is your interpretation as you perform the music.
This is going to be fun.

No comments:
Post a Comment